

Acetate Card Tutorial
by Tammy Louise
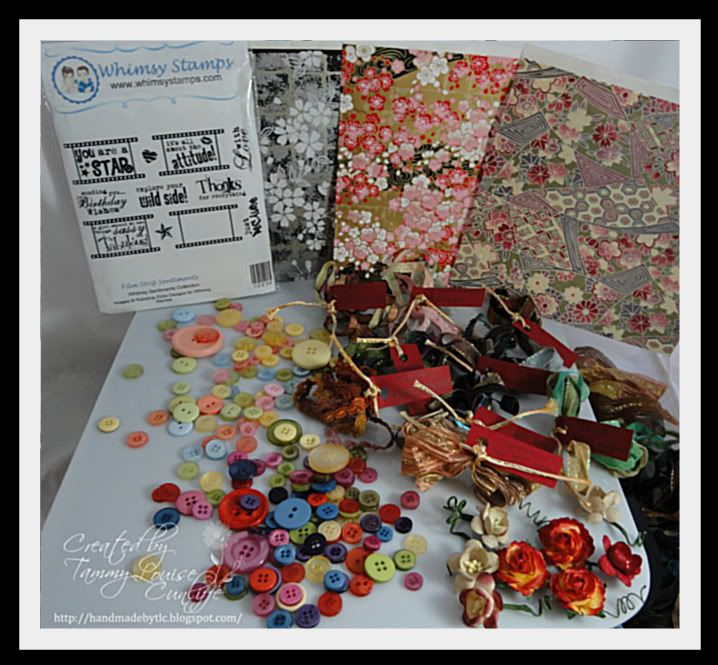
Supplies needed:
Paper Trimmer
Scor pal
Pop up dots
Staz on Ink any colors
2 eyelets American crafts Silver
3M Write On projector sheet cut to 5 1/2 x 11
Two small Stock squares 2 3/4 "
Two Larger Stock squares 3 1/2"
Stamped image
 |
| Stamp a small spotty image to front of Acetate |
 |
| Open the card and Stamp on the inside sheet toward the edges |
 |
| Place the card back together and I used silver snow flakes to fill in the enpty spaces |
 |
| Place brads through the front of the card and run ribbon through and tie in the front of the card |
 |
| color the image and I distressed the snow flake |
 |
| I used Nestabilities Label 1 (two white and two larger in blue) |
 |
 |
| Place the smaller white label downward in the center of the larger blue label for the writing area |
 |
| Apply the next larger blue label in the same fashion on the back of the front cover with pop dots facing up |
 |
| Difficult to take photo |
 |
| Little better view |
makeitmonday. anything goes
joyfulstamper. anything goes
.passionatelyartistic. anything goes
Paper Take Weekly anything goes
Freshly Brewed anything goes
Paper Shelter Challenge xmas fun
Pixie Cottage xmas card and or a sketch
Always Something Creative - it must sparkle
One Stitch At A Time use a digi
Delightful Challenges sparkly xmas
Crafty Hazelnut's Christmas bright and sparkly
Little Claire's xmas
Mami Doodles xmas
Sweet n' Sassy Digi Challenge digi and xmas
Winter Wonderland xmas and sparkle
heartsonginspirations. anything goes
.tsgclearstamps.holiday project
Daisy Doodles Creative Challenge anything goes digi
I Did It Creations xmas
A Gem of a Challenge cold and frosty
Fun with Shapes & More xmas and an animal
Digital Tuesday anything goes
Papertake Weekly xmas cards
Party Time Tuesdays bright and sparkly
Tuesday Throwdown fave colour combo [blue and white]
Little Daarlings Challenge ~ Christmas
Hugs
Tammy Louise

Ingredients I Used
Image is Teddy Bo #101
Stampin Up stamps
Recollections Sentiment
Raindrop Echo Designs "Holiday mini stamps" at Whimsy Stamps Store
Mini Postage stamp die by Raindrop Echo Designs w/ Whimsy
Ribbon from stash
Snow Flake 7 die Cheery Lynn
Copic sketch
Gelly roll "Clear Star"
Pentel Sunburst Med gel white pen
Stormy Sky Ranger Distress Ink
INSPIRATIONAL THOUGHT FOR THE DAY:
* Mental attitude is more important than mental capacity.
Walter Dill Scott
Walter Dill Scott
Stop by the Whimsy Stamps Store available today for my Shape EZ line of digital forms and shaped product lines like bags, boxes, flowers, and cards with tons of add on's that help you make the project just the way you like it. Over and Over again! The NEW Shape EZ Cut files available today!
Thank you for visiting,

Oh my word Tammy Louise. this is beautiful. Such a gorgeous idea. Lee x
ReplyDeletethis is beautiful and so fun, love it!
ReplyDeleteFabulous tutorial Tammy and wonderful card..
ReplyDeleteThanks for sharing at 'Make it Monday'
Luv CHRISSYxx
What a fun card! It is gorgeous and I love that image! Thanks for joining us at Little Darlings this week. hugs, Angela
ReplyDeleteTammy, Tammy, Tammy....
ReplyDeleteThat was the best fun just now admiring your card and tutorial. :) The outcome is fabulous!
Thanks for linking with us at Make It Monday.
Good luck to you...
Hugs,
Lisa xx
Fantastic colouring and design. Love your tutorial. Saw you at MIMS. Bettina
ReplyDeleteWhat a gorgeous acetate card!! and cute image too! Thanks for sharing your work with us at Tuesday Throwdown Tammy .. hope you are well! xxx Steph
ReplyDeleteFab tutorialand your cards is so beautiful!
ReplyDeleteThe cutest little bear is colored perfectly ;)
Hugs from Anne
Wow this is stunning. I love the idea of the acetate for made a card.
ReplyDeleteThank you for playing at The Pixie Cottage this week.
Francy
Smashing card - I do love how you've coloured the fab image!!!
ReplyDeleteNow I mMUST get my acetate out. LOL
GORGEOUS CARD! I love the blue! Great tutorial!
ReplyDeleteIt's been a real pleasure to visit your blog!
Thank you for joining us at Freshly Brewed Challenges for our month long prize challenge, "Anything goes!"
Remember if you enter a project with a Fresh Brewed Designs Image, you will be entered into our big blog candy drawing!
Warm Hugs, Sheryl