


Today is the first day of February's 2nd challenge over at Really Reasonable Ribbon! As the Guest Designer this month, I'm excited to share my project with all of you and also direct you over to the Challenge Blog to be inspired by the Really Reasonable Design Team!
Let's see your Spring Colors and Ribbon creations!
The top three favorite projects are selected along with a random winner from all the entries to win a $10 gift certificate to Really Reasonable Ribbon. That's a wonderful chance to start shopping for some of the fabulous ribbons, trim, bags and embellishments too from the Really Reasonable Ribbon store. The winners will be announced on February 15th.
Here's what you need to do:
* Create a new project using the posted theme. A layout, card, ATC, home decor item, hair bow, or anything your can think of.
* You may enter as many times as you like, but you're asked to provide newly designed projects. No back-linking please.
* All projects must also include some sort of ribbon/lace/trim.
* Post your project on your blog or an online gallery (using code RRR66) and link it. Please provide a direct link to your post, not an entire blog.
* You have until February 12th at 11:59 PM Eastern time to enter your projects. Thanks so much for playing and good luck.
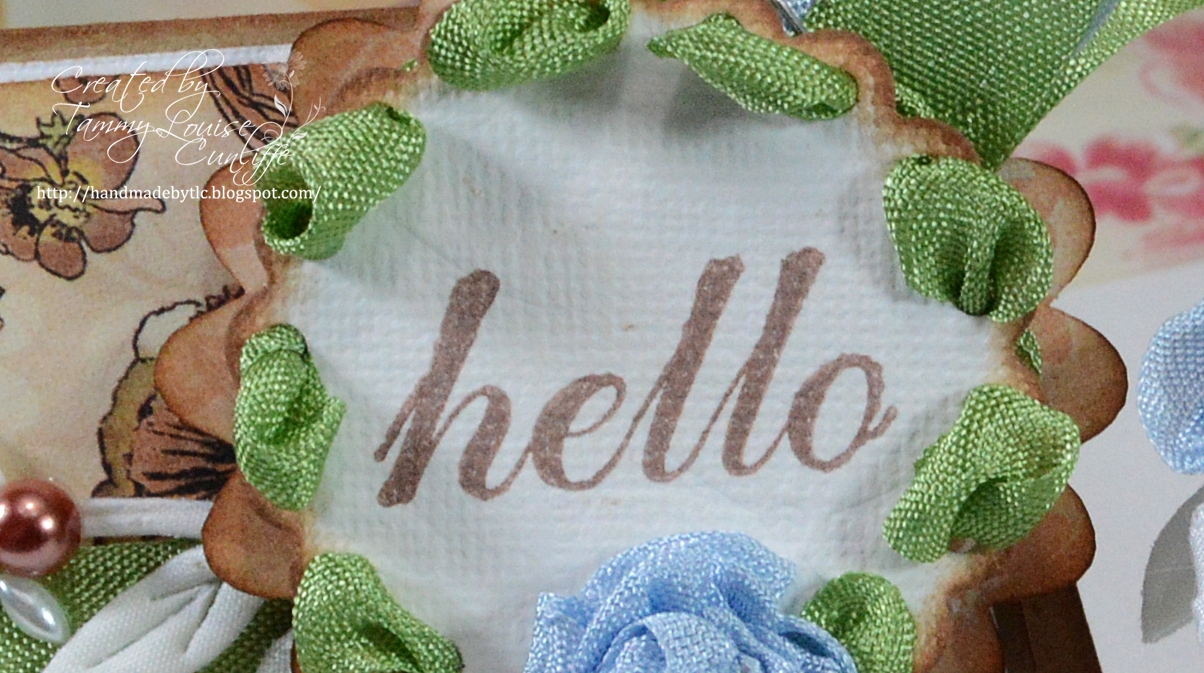
Today my project is going to use one of my favorite Shape EZ templates, the "Gift Pouch" available at Whimsy Stamps. I just knew this beautiful Graphics 45 paper was going to come in handy for a spring project. I couldn't imagine a better way to show you how special a little touch of ribbon can make a project!

After the template is cut, I used the lid of the box to trace and cut an additional lid with the DP opposite side to make the design in.

After drawing a vine design, I punched some holes through the lid in a vine design, sewed some random colored thread through the holes.

Add leafs to the vine

Sew thread through the holes. Up through the bottom down the closest hole, then up through the next hole in the line and back through the hole behind it.

At the last hole, I went around the edge and up through the last hole to finish the design off up to the edge for a more finished vine look.

Rolled some ribbons buds that start off with a knot for the center into buds and roses.

While holding the knot, loop the ribbon clockwise with the ribbon in an outward loop and place glue to hold that position. After about 4 of these outward loops, roll the center around the center knot while heading downward in the shape of a stem.

Snip the ribbon, glue it together then make a snip in the "stem" section to the desired length for your project.


There are a few full roses and some buds added. I may have another tutorial for the other mini roses soon, otherwise, you can find larger ones made the same way on my tutorial tab above.
Place some of the white leaf ribbon around the flowers and voila, the project is complete! I hope you enjoy and get inspired to try it!
The finished Gift Box project can be seen on the RRR Challenge Blog today so pop over and see it there!

I've created a card using coordinated papers and matching ribbons that fits inside the box with some candy for the perfect spring gift to your neighbor, school teacher or grandma!
INGREDIENTS:
Shape EZ Gift Pouch
Sentiment is "Every Day Sliders" by Raindrop Echo Design
DP is Graphics 45 "Once Upon A Springtime - Fairy Folk" collection
Kraft Paper
Spellbinders scalloped circle die
X Press tape
Diamond fence trim punch - Martha Stewart
MEDIUMS:
Vintage Photo Ranger Distress Ink
Saddle Brown Versafine Ink
EMBELLISHMENTS:
Prism craft thread
Prima "Say It In Pearls"
INSPIRATIONAL THOUGHT FOR THE DAY:
Be the best version of you.
- Source Unknown
- Source Unknown
If you enjoy a good 3D project or just need a special box or bag, stop by the Whimsy Stamps Store available today for my Shape "EZ" product line of Cut templates like bags, boxes, flowers, and cards with tons of add on's! These templates can help you make any project just the way you like it. Over and Over again! The NEW Shape "EZ" cut files are available today!
Thank you for visiting,

awwww i like your card Tammy Louise, the stitching is perfect, it looks great ♥ the colorcombo is gorgeous too.
ReplyDeletehave a great weekend
Hugs ♥
Dunja
Stunning tag my dear^_^
ReplyDeleteHave a beautiful weekend^_^
Sonia
WOW! This is stunning! I love the sewing that you did across the top of your box and the ribbon roses! This is getting tucked into my favorites :) Such a beautiful project!
ReplyDeleteTammy GDT member, you have done an excellent tutorial for all ribbon lovers. Be proud Tammy, you are a great designer for the RRR blog team!!!
ReplyDeleteava g
Absolutely gorgeous! I love the green and blue ribbon combo. Thank you for the great tutorial.
ReplyDelete