

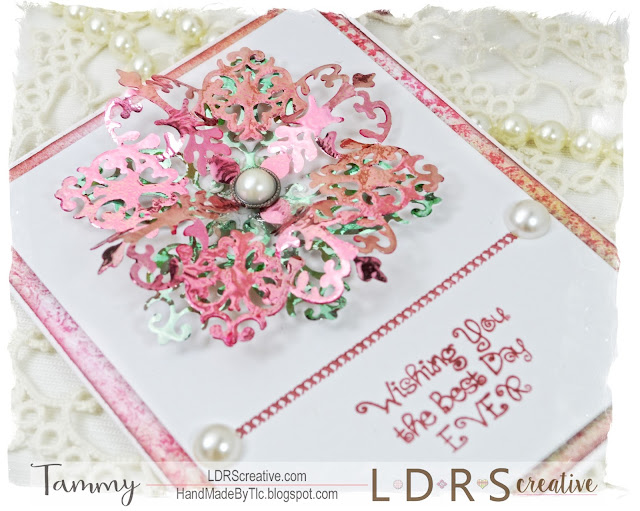
Good morning! Tammy Louise with you sharing a LDRS Creative video tutorial! I've fallen in love with the technique that makes your die cuts shine and shimmer with craft foil!
INGREDIENTS:

I will share some steps with you here as well, ready? Grab a pen!
1. Choose your favorite LDRS Creative die
2. Emboss some card stock with clear, fine embossing powder. A large enough area to cut with your die choice
3. Heat up your powder on the stock and cut your die out
4. Cut a square of foil large enough to cover the embossed and heat dried die cut and place the die cut down (embossed side up), place the shiny side foil up on top of the die and place them inside parchment or printer paper with a fold so that the paper creates a creased folder.
5. Heat up your lamination machine and place the scored edge of parchment/computer paper through!
That's all there is to it! When you've run it through, the heat and pressure melt the embossing powder again and it adheres to the foil! Peel your die cut away from the foil and it's done! You've gotta try it! It's a stunning technique!
MEDIUMS:
Close to my Heart - Pomagranate

EMBELLISHMENTS:
Recollections Pearls
WOC Pearl Brad
Recollections Pearls
WOC Pearl Brad

INSPIRATIONAL THOUGHT FOR THE DAY:
“To accomplish great things, we must not only act, but also dream; not only plan, but also believe.” – Anatole France
If you enjoy a good 3D project or just need a special box or bag, stop by my ETSY Store above for the available Shape "EZ" product line of Cut templates like bags, boxes, flowers, and cards with tons of add on's! These templates can help you make any project just the way you like it. Over and Over again! There is always a NEW Shape "EZ" cut files are available!
Thank you for visiting,

Wow this is so beautiful and thank you for sharing it x
ReplyDelete